About the Wave Scanner
Recently, a group of friends wanted to replay the Mega Man Star Force series. The Japanese version of the first game has some accessories that you can purchase to enhance your stats. One in particular, the Wave Scanner, caught my attention. So, I bought two of them. What does it do though?
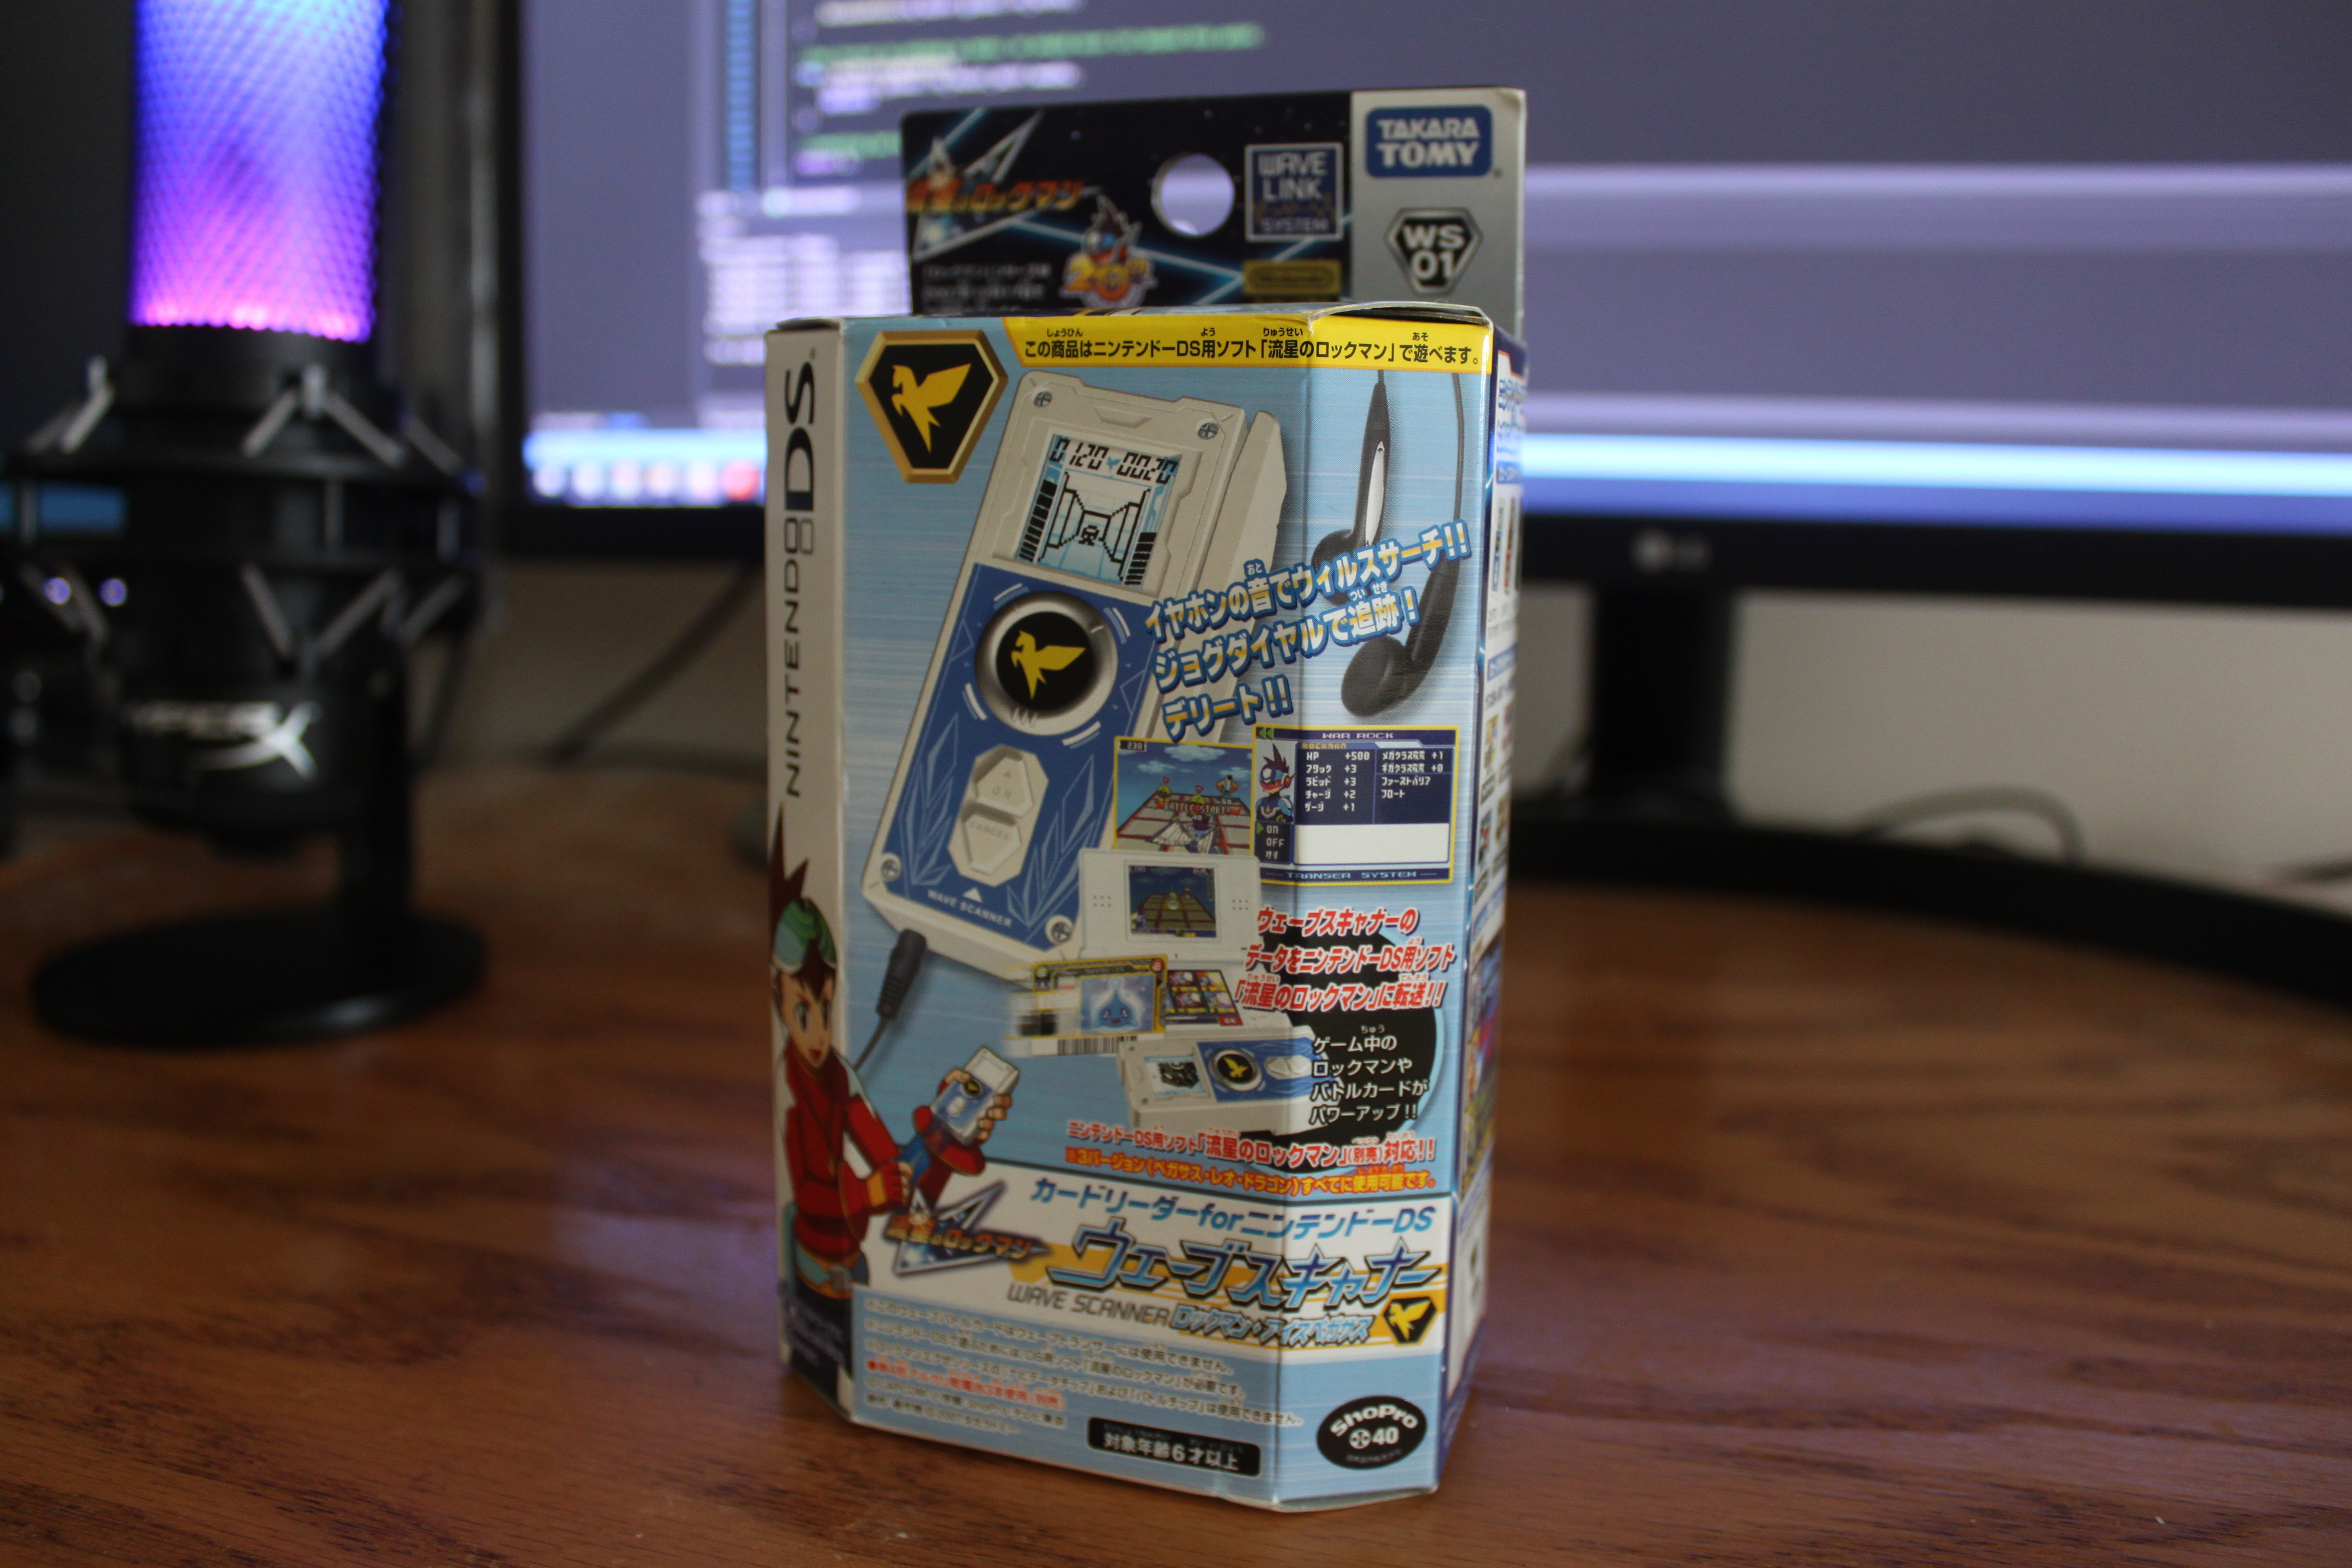
It's a cute little device that lets you swipe real life battle cards in. Every battle card has a barcode at the bottom of it, so this device has a barcode scanner embedded. Battle cards may be used for the minigames that are on the device. However, the feature that caught my eye was that it can connect to your Nintendo DS/DS Lite/DSi via microphone jack and send battle card data over that. Now that's pretty cool.
Naturally, as a developer, I want to figure out what makes things work. So I looked into some of the details, including how it interacts with the Nintendo DS. I also disassembled and reassembled it. Let's discuss. First, we'll start out with the details you probably bought the product for, the benefits you get in game. Then we'll go into the hardware and software.
No, this isn't a post to talk about what the mini-games are, how leveling up your character works, full translation, etc. I may go over that in a future post. In this post I only translate what is needed for explaining how something works.
Benefits to Star Force 1
When this device is connected to your DS, the following benefits occur:
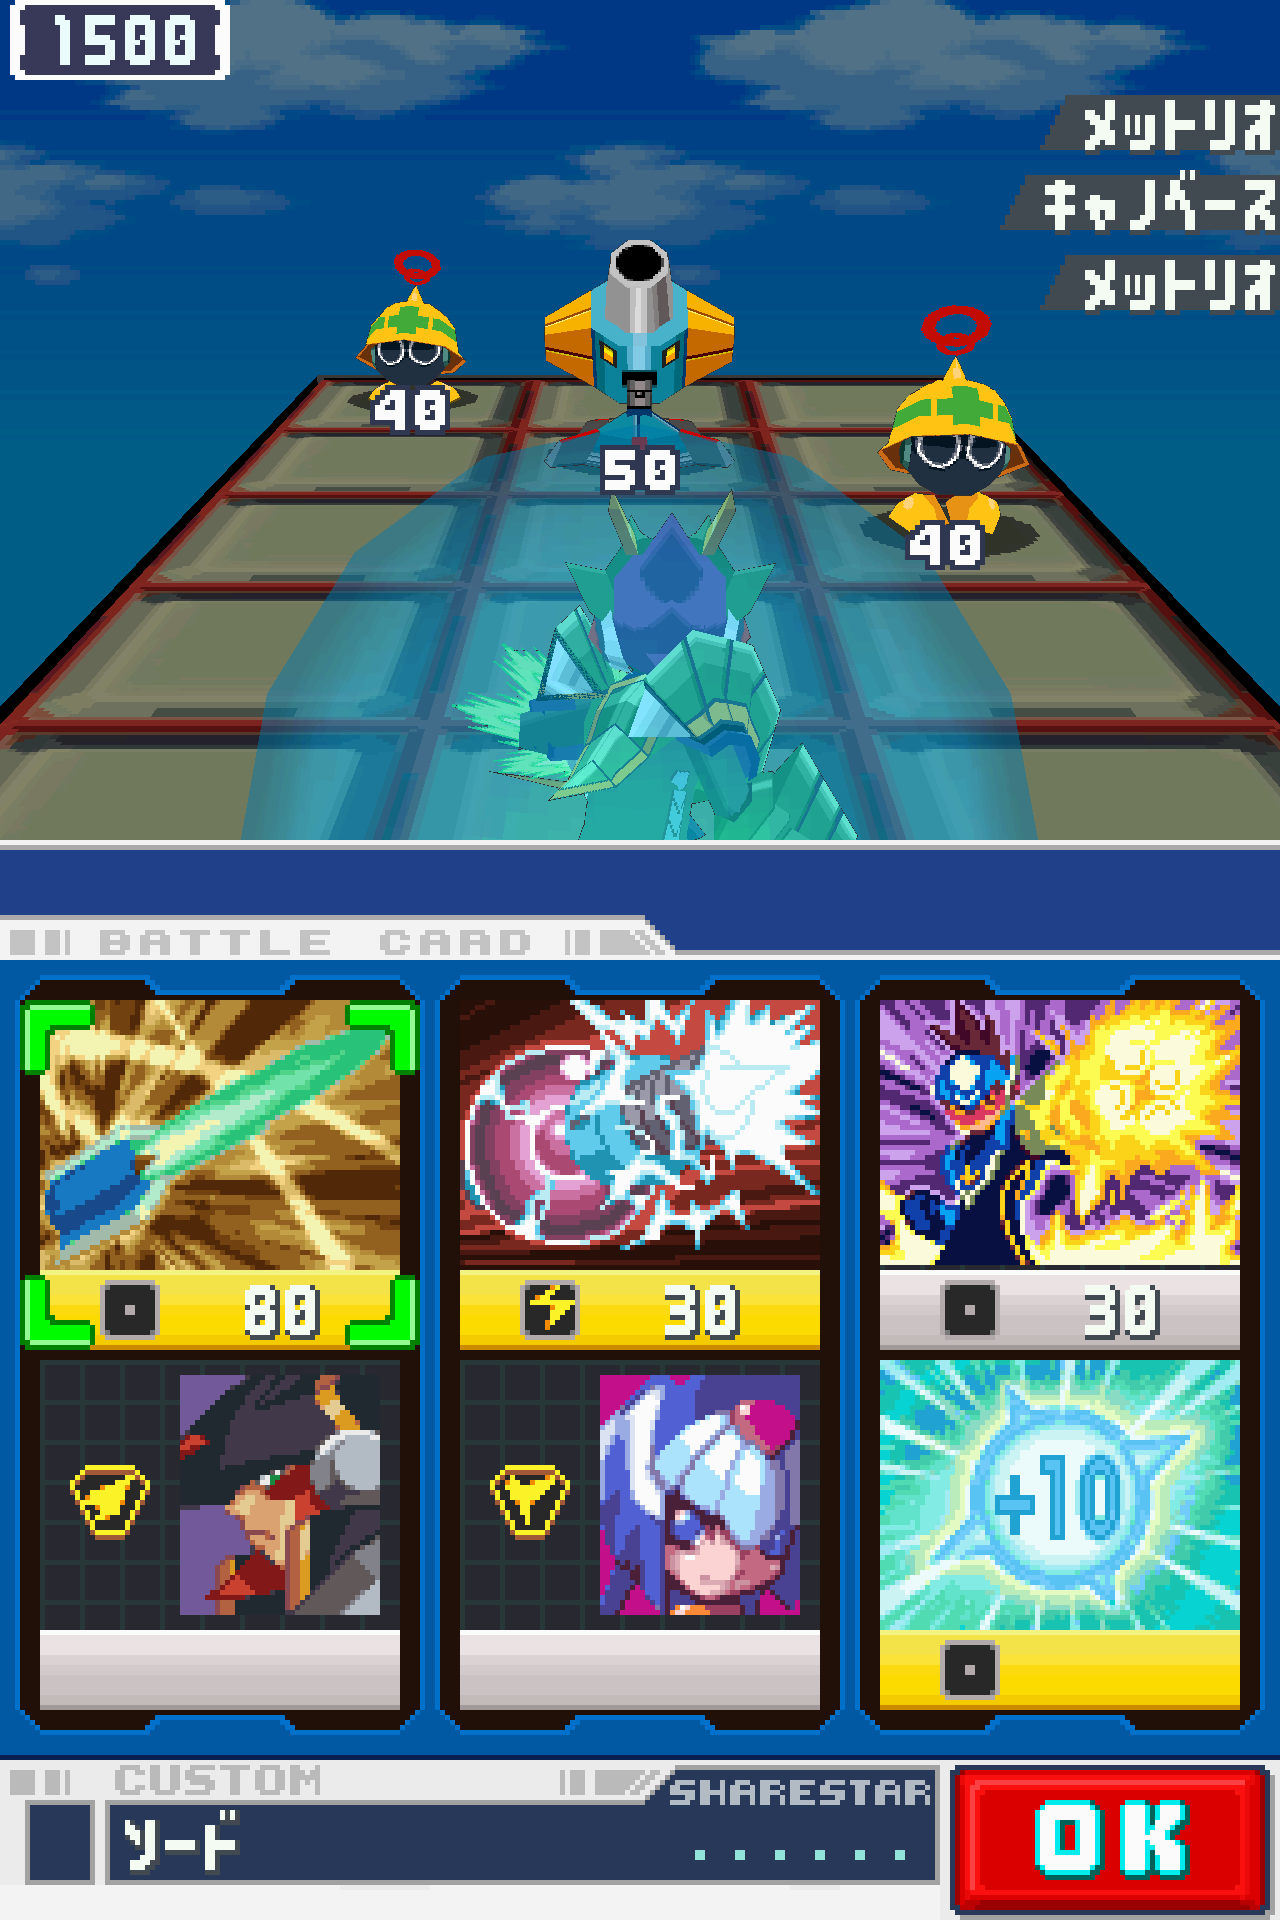
Instant Star Force Transformation
You immediately start out battles as the Star Force transformation respective to the Wave Scanner you bought. I have the Ice Pegasus one, so I start out battles as Ice Pegasus. This happens regardless of your game's version. This also happens regardless of if you advanced far enough in the plot to get the Star Force or not.

This makes it rather strategic to grab a Wave Scanner of a different satellite admin, because you get 2 explicit transformations in battle. This is useful for if you are hit by an elemental weakness in battle, or if you want to just change forms. It'll simply override the current form if one is in use.
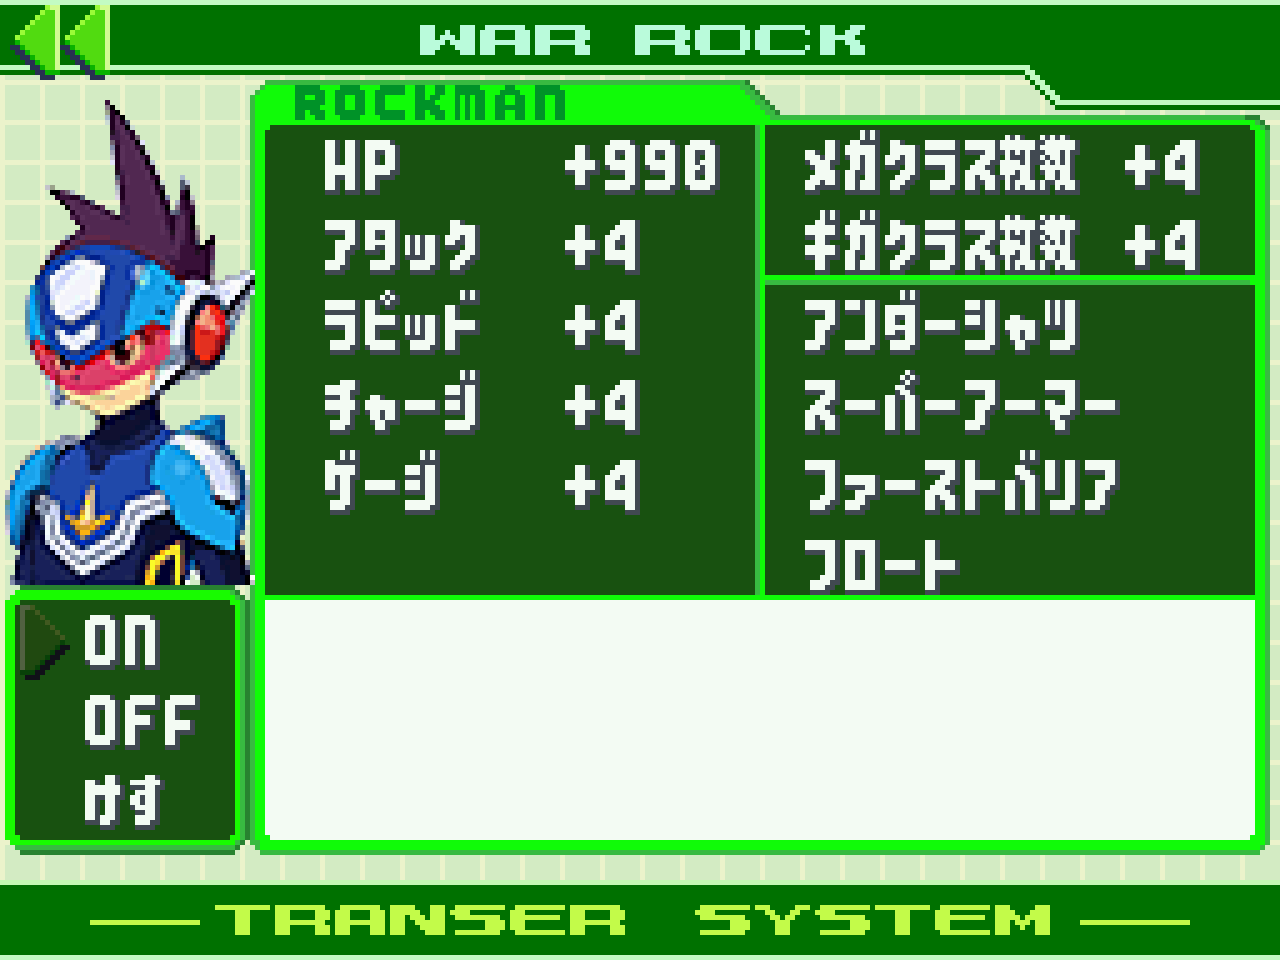
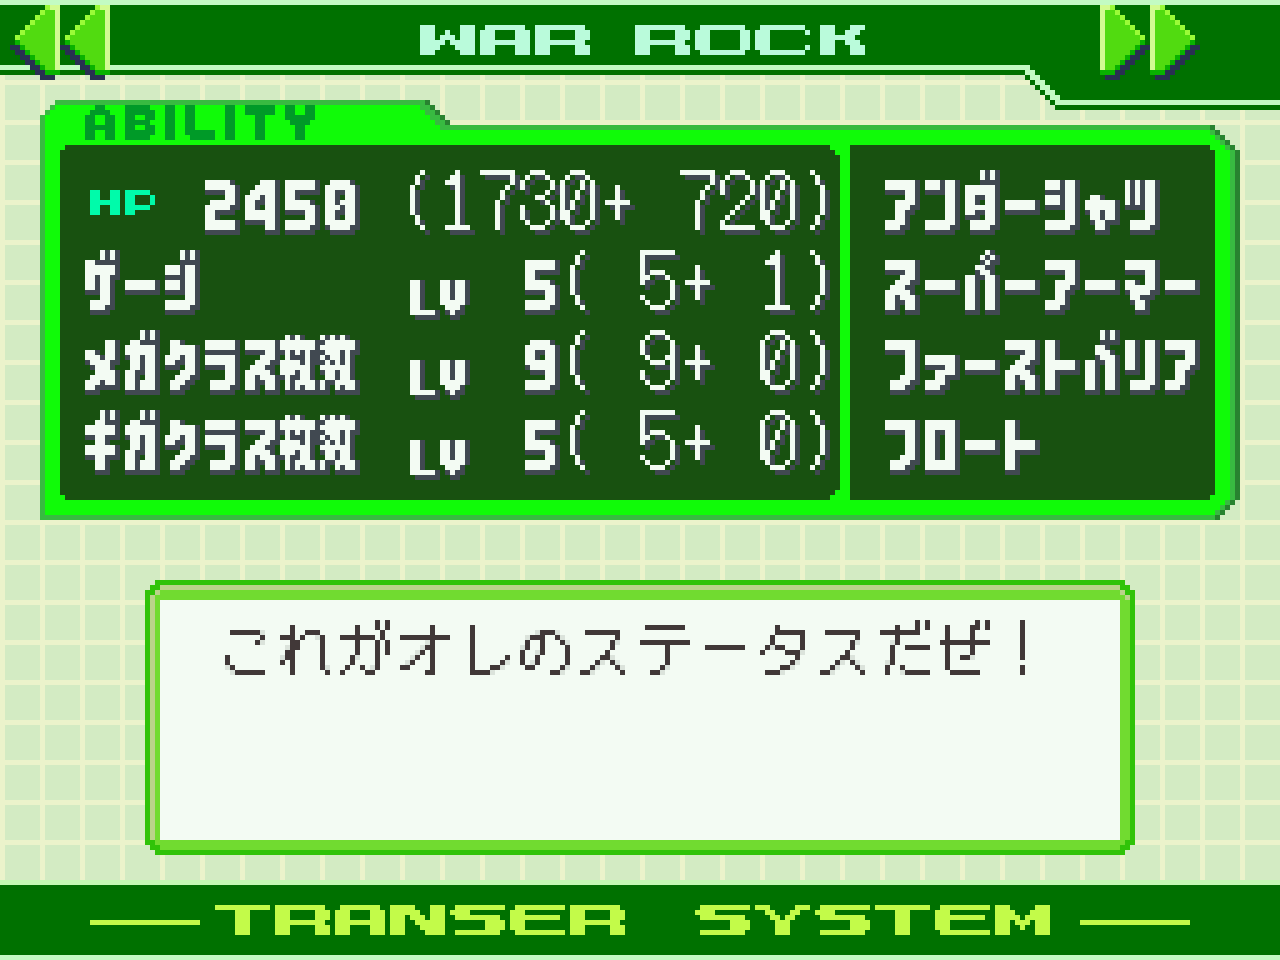
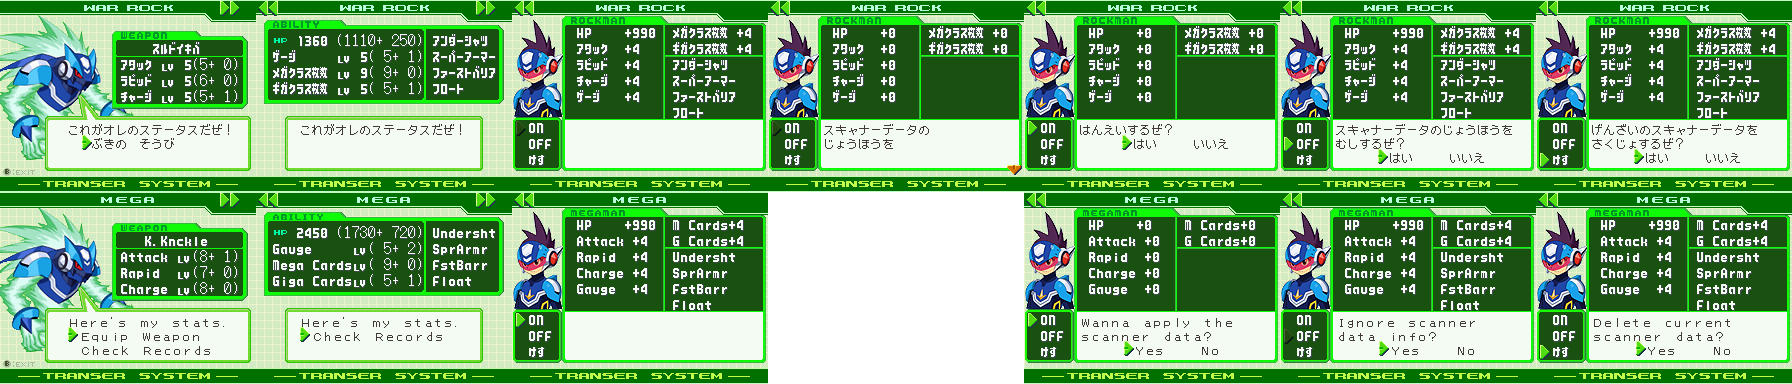
Significant Stats Boost
Stats from the Wave Scanner can be sent over when you are in the War-Rock menu. You can get HP boosts, as well as buster, gauge, mega card, and giga card boosts. You can also gain the Undershirt, Super Armour, First Barrier, and Float Shoes abilities if your level is high enough.
To access this on the Wave Scanner:
- Press any button and turn the dial until you're at カードリーダーモード (Card Reader Mode).
- It'll show "ニンテンドーDS" (Nintendo DS). Press "OK".
- Select オクル (送る / To send).
- You'll be given 2 options: はい (Yes) and いいえ (No). Obviously, choose はい if you want to send data over. It'll say つうしん中 (通信中 / Connecting). When done transferring, it'll say つうしんかんりょう (通信完了 / Communication Done).
Here is a table of the status boosts you get in multiples of 5:
| Level | HP Boost | +Attack | +Rapid | +Charge | +Gauge | +Mega | +Giga | Abilities |
|---|---|---|---|---|---|---|---|---|
| 5 | 50 | 0 | 0 | 0 | 0 | 0 | 0 | n/a |
| 10 | 100 | 1 | 0 | 0 | 0 | 0 | 0 | n/a |
| 15 | 150 | 1 | 0 | 0 | 0 | 0 | 0 | n/a |
| 20 | 200 | 2 | 1 | 0 | 0 | 0 | 0 | n/a |
| 25 | 250 | 2 | 1 | 0 | 0 | 0 | 0 | First Barrier |
| 30 | 300 | 2 | 1 | 1 | 0 | 0 | 0 | First Barrier |
| 35 | 350 | 2 | 2 | 1 | 0 | 0 | 0 | First Barrier |
| 40 | 400 | 2 | 2 | 1 | 1 | 0 | 0 | First Barrier |
| 45 | 450 | 3 | 2 | 2 | 1 | 0 | 0 | First Barrier |
| 50 | 500 | 3 | 3 | 2 | 1 | 1 | 0 | First Barrier, Float Shoes |
| 55 | 550 | 3 | 3 | 2 | 2 | 1 | 0 | First Barrier, Float Shoes |
| 60 | 600 | 3 | 3 | 3 | 2 | 1 | 0 | First Barrier, Float Shoes |
| 65 | 650 | 3 | 3 | 3 | 2 | 2 | 1 | First Barrier, Float Shoes |
| 70 | 700 | 4 | 3 | 3 | 3 | 2 | 1 | First Barrier, Float Shoes |
| 75 | 750 | 4 | 4 | 3 | 3 | 2 | 2 | First Barrier, Float Shoes, Super Armour |
| 80 | 800 | 4 | 4 | 4 | 3 | 3 | 2 | First Barrier, Float Shoes, Super Armour |
| 85 | 850 | 4 | 4 | 4 | 4 | 3 | 3 | First Barrier, Float Shoes, Super Armour |
| 90 | 900 | 4 | 4 | 4 | 4 | 4 | 3 | First Barrier, Float Shoes, Super Armour, Undershirt |
| 95 | 950 | 4 | 4 | 4 | 4 | 4 | 4 | First Barrier, Float Shoes, Super Armour, Undershirt |
| 99 | 990 | 4 | 4 | 4 | 4 | 4 | 4 | First Barrier, Float Shoes, Super Armour, Undershirt |
Your HP boost is simply 10 × level. So if I was level 41 and transferred it over to the game, I'll get +410 HP. Every 25 levels (and 90), will give you a new ability. Obviously the most broken stat boosts are toward the later levels. Imagine having 5 giga cards in a single folder. This also replaces the need of having the in-game brotherbands intact, as those were the only other way to get abilities.
The stats for the buster cap at 5. It is not possible to have a buster do 6 damage, 7 damage, etc per shot.

|
|
Power up Battle Cards via swiping
In battle, you may swipe a real-life battle card and if some
criteria is met, it will power up the card in game or transform a card into
the one you swiped. Usually it'll require the card to be present in your
custom screen already. You can only swipe one card per turn.
To access this on the Wave Scanner:
- Press any button and turn the dial until you're at カードリーダーモード (Card Reader Mode).
- It'll show "ニンテンドーDS" (Nintendo DS). Press "OK".
- Select カードリーダー (Card Reader). You'll see War-Rock looking around like in the main menu.
- Get into a battle in on your DS and swipe a card. It'll say つうしん中 (通信中 / Connecting). When done transferring, it'll say つうしんかんりょう (通信完了 / Communication Done).
- If done correctly, you'll see an animation on your DS where your card transforms. Then it'll have a "P" over it, indicating it's been powered up.
I spent the least time on this aspect. Though each physical battle card has the abilities that it grants in-game written on them. If you can read Japanese, it's the section labelled DS「流星のロックマン」効果 (DS "Shooting Star Rockman" Effect).
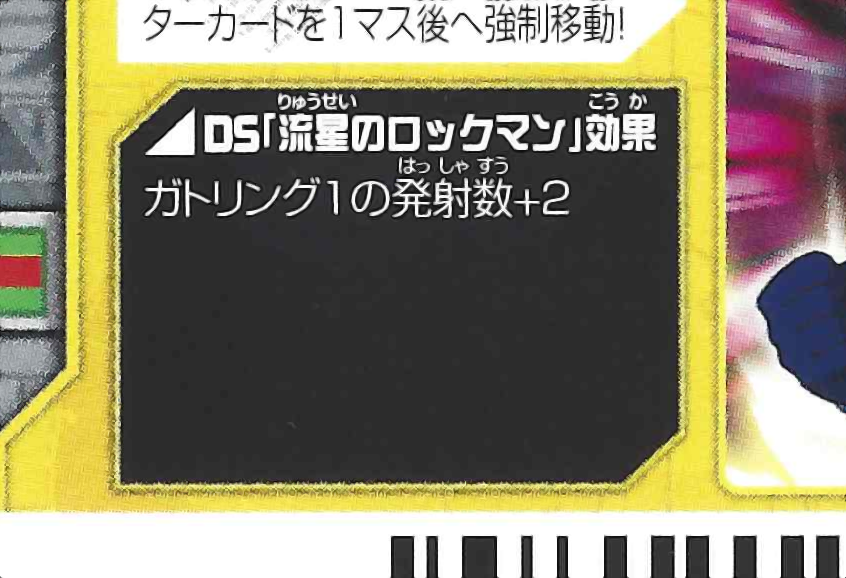
ガトリング1の発射数+2 (Gatling 1 number of shots fired + 2)
Hardware Connections to Nintendo DS/DS Lite/DSi
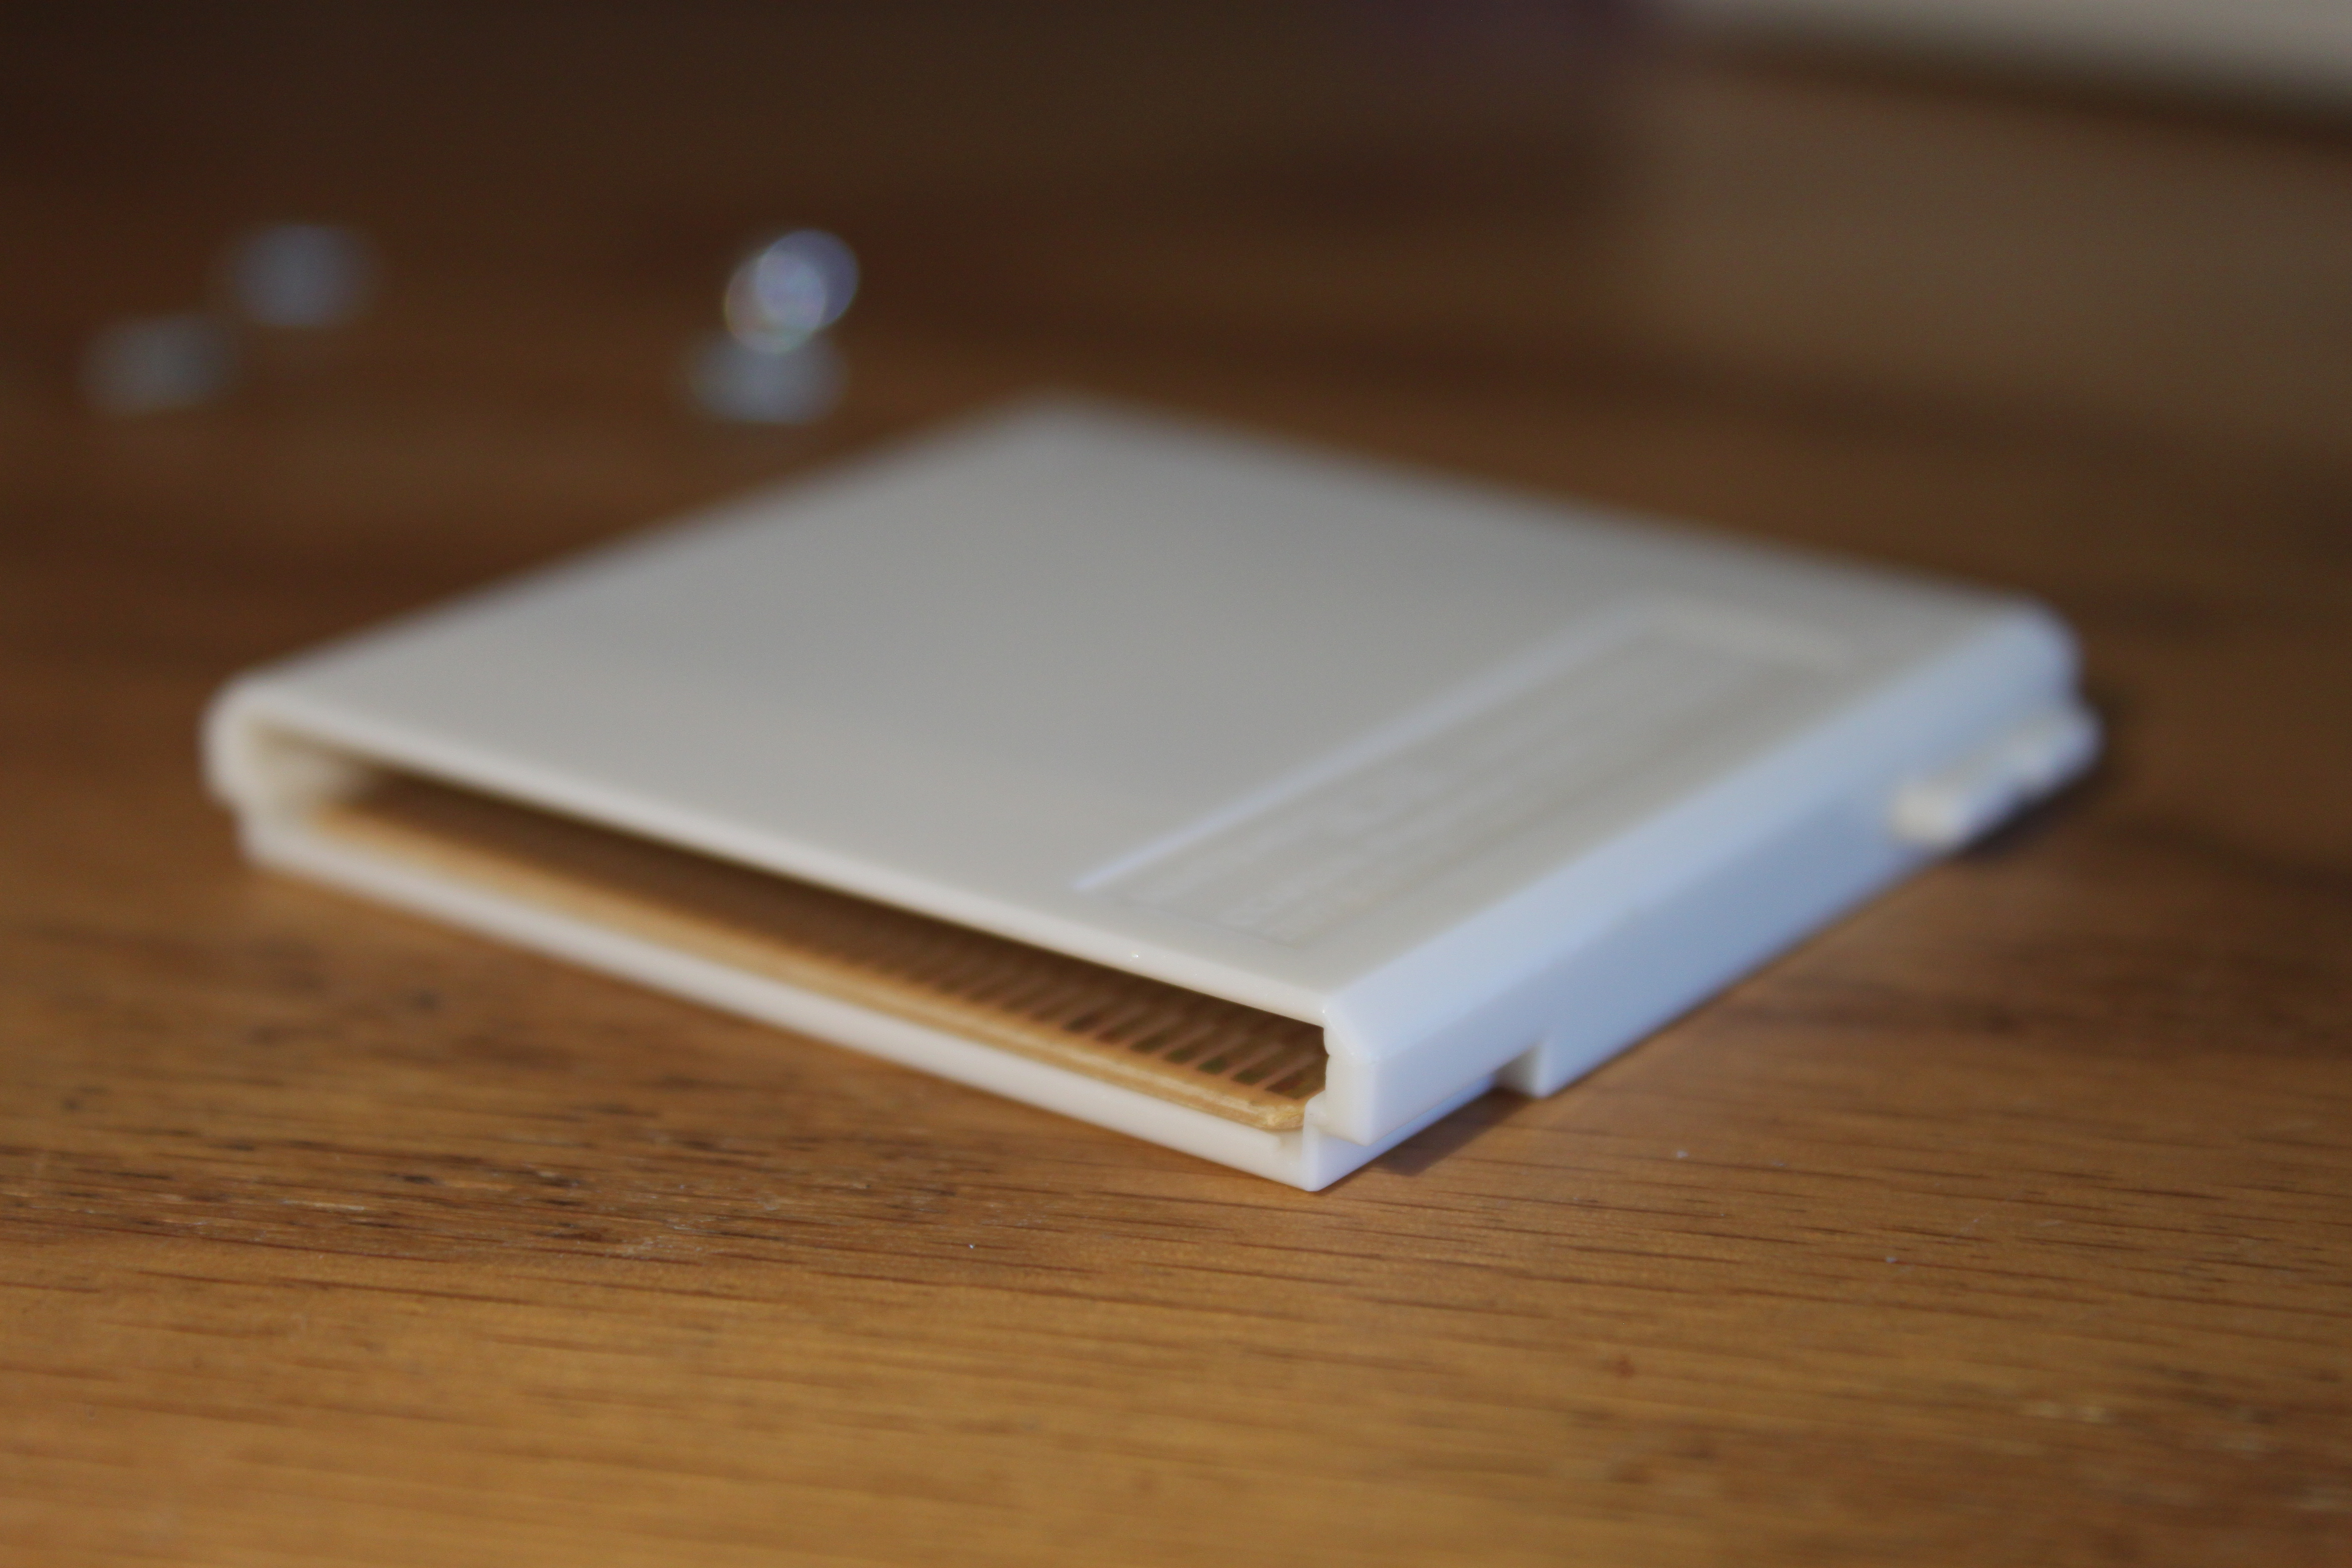
The bottom of the device has 2 parts: A slider shaped like a GBA cartridge, as well as a cord that plugs into the external microphone jack (and blocks the headphone jack).
GBA "Cartridge"
First, let's knock out that GBA "cartridge". It's just there to provide stabilisation if you are using a regular DS or DS Lite. This way, you can hold your DS and the Wave Scanner would stay in place. There seem to be pins on it though, but when upon flashing a light under it, there's no connections being made. Additionally, when taking this part off to replace the batteries (yes, you have to take this off), there's no connection it makes to any other part of the Wave Scanner. Other than holding the DS/DS Lite in place, it's completely useless.
|
|
And yes, I did try to throw this into the GBA Dumper tool. It gives the same results as if there were no cartridge slotted into Slot 2 (the GBA slot).
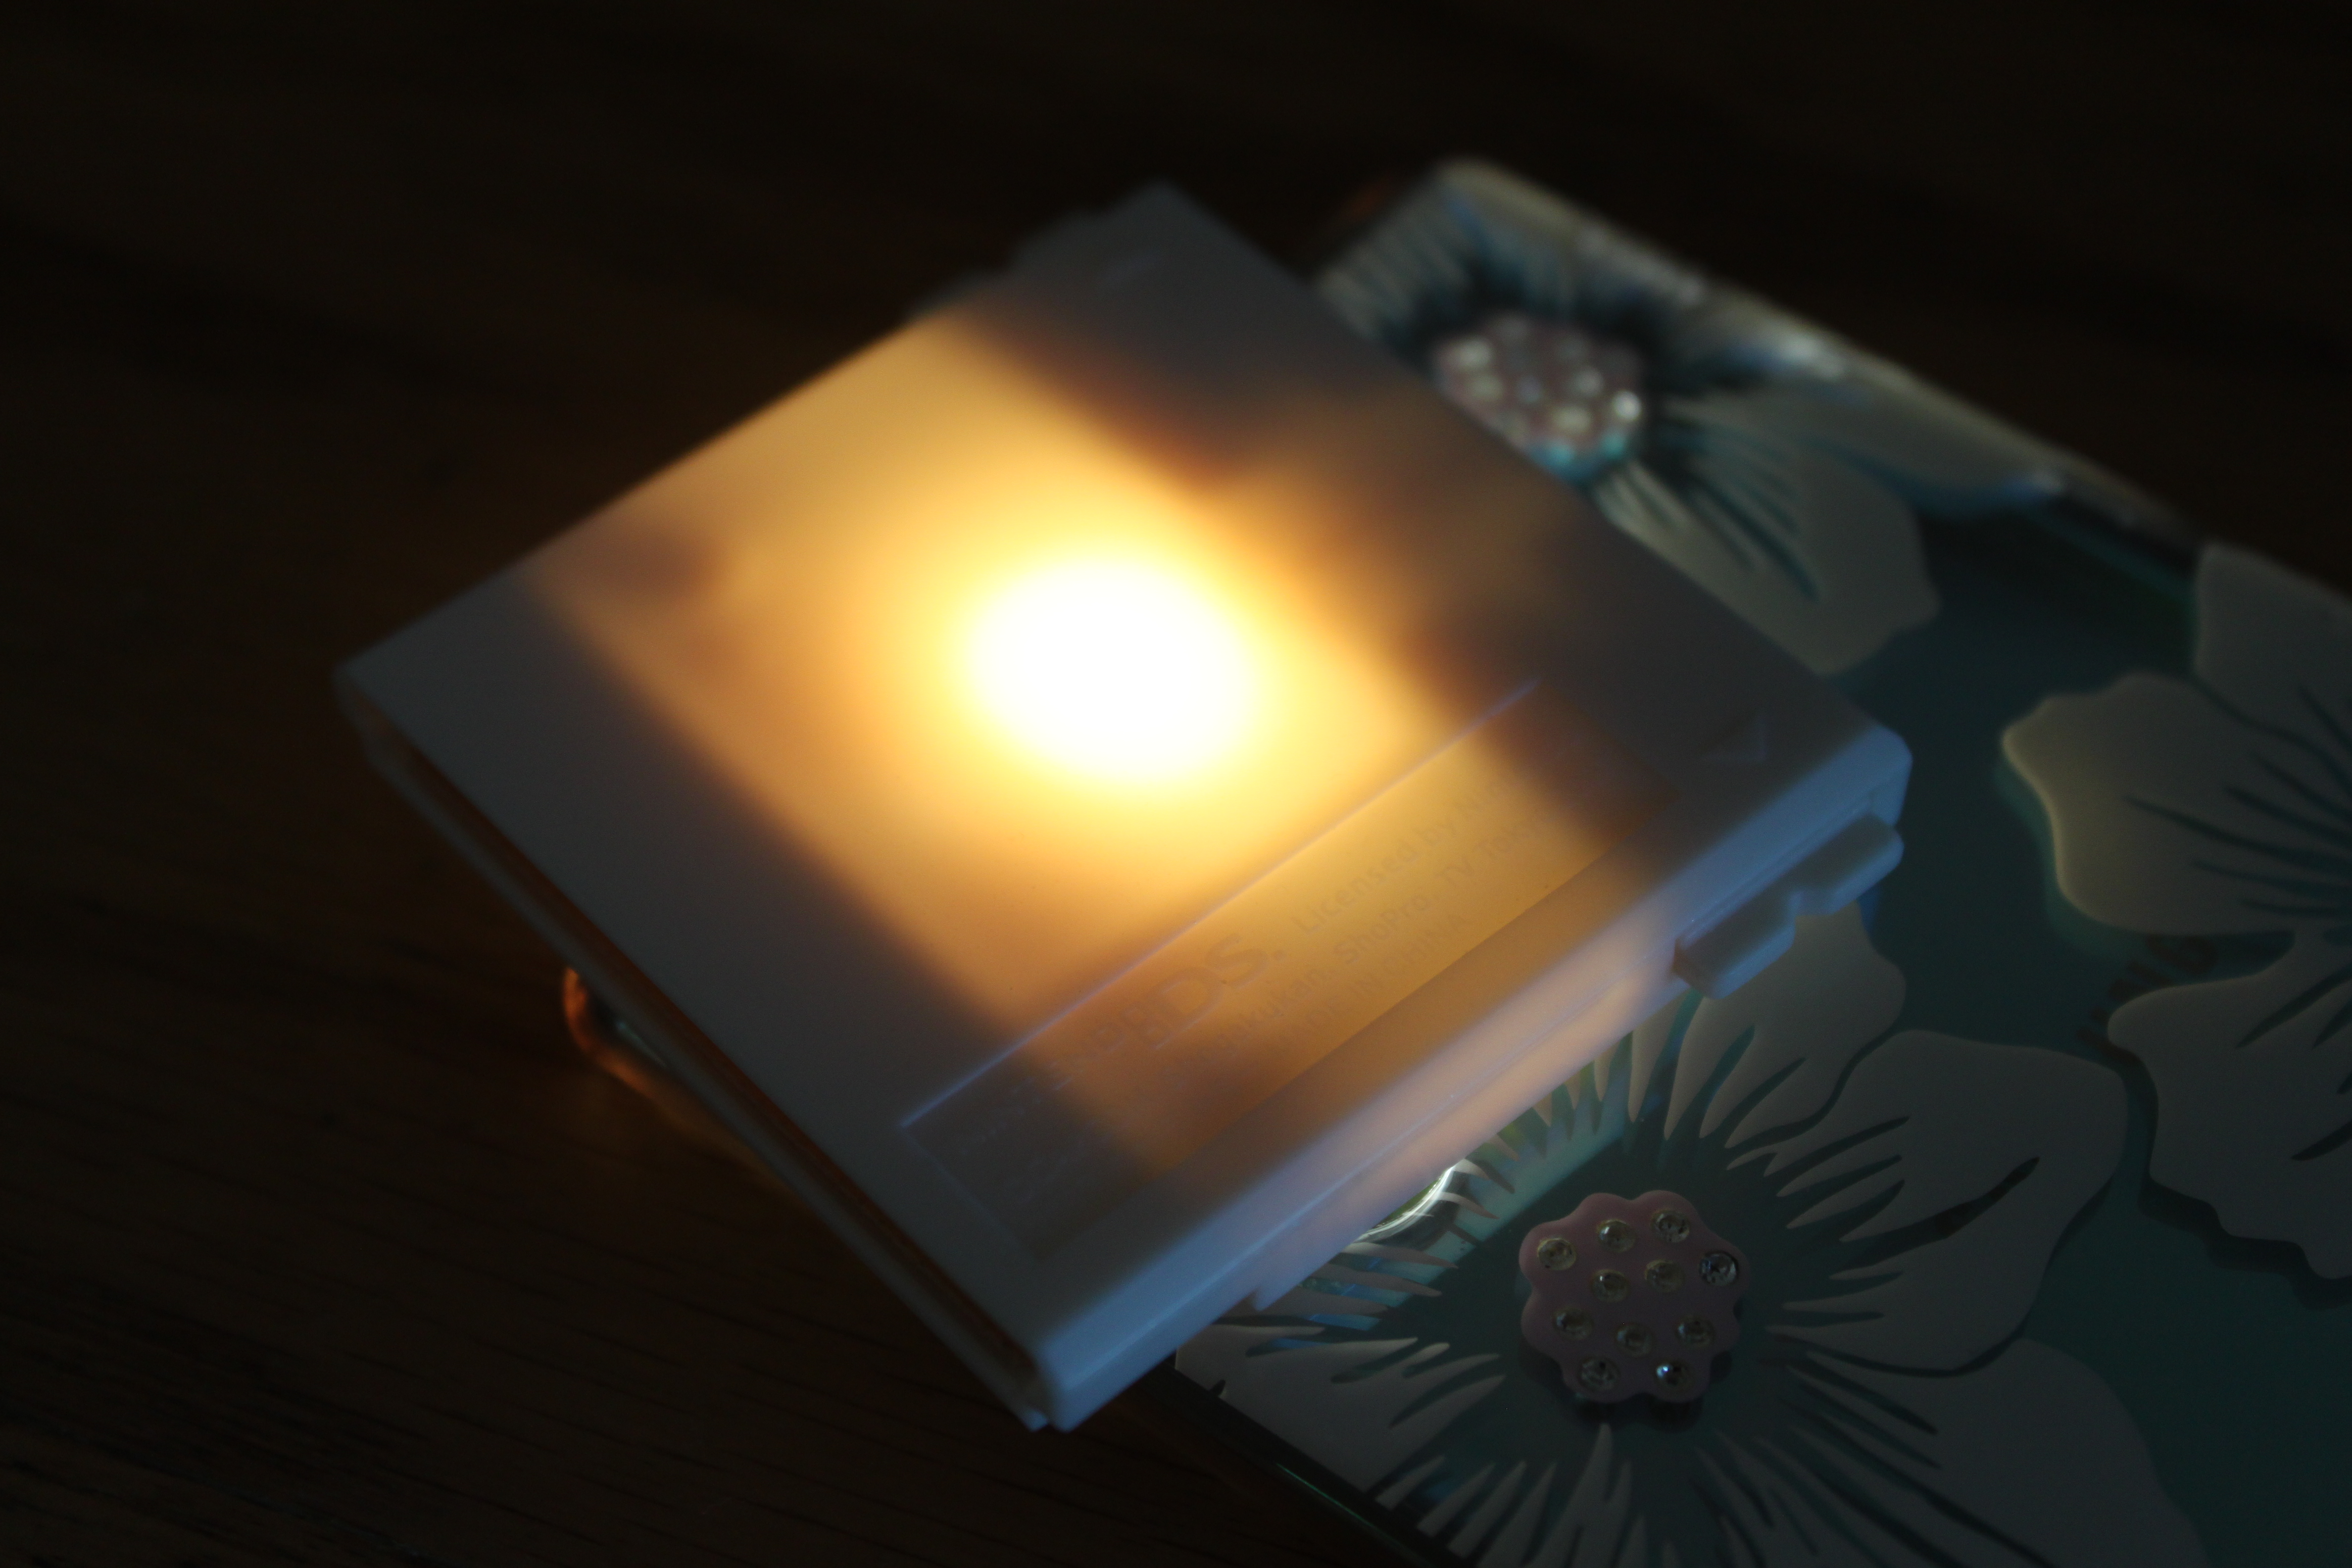
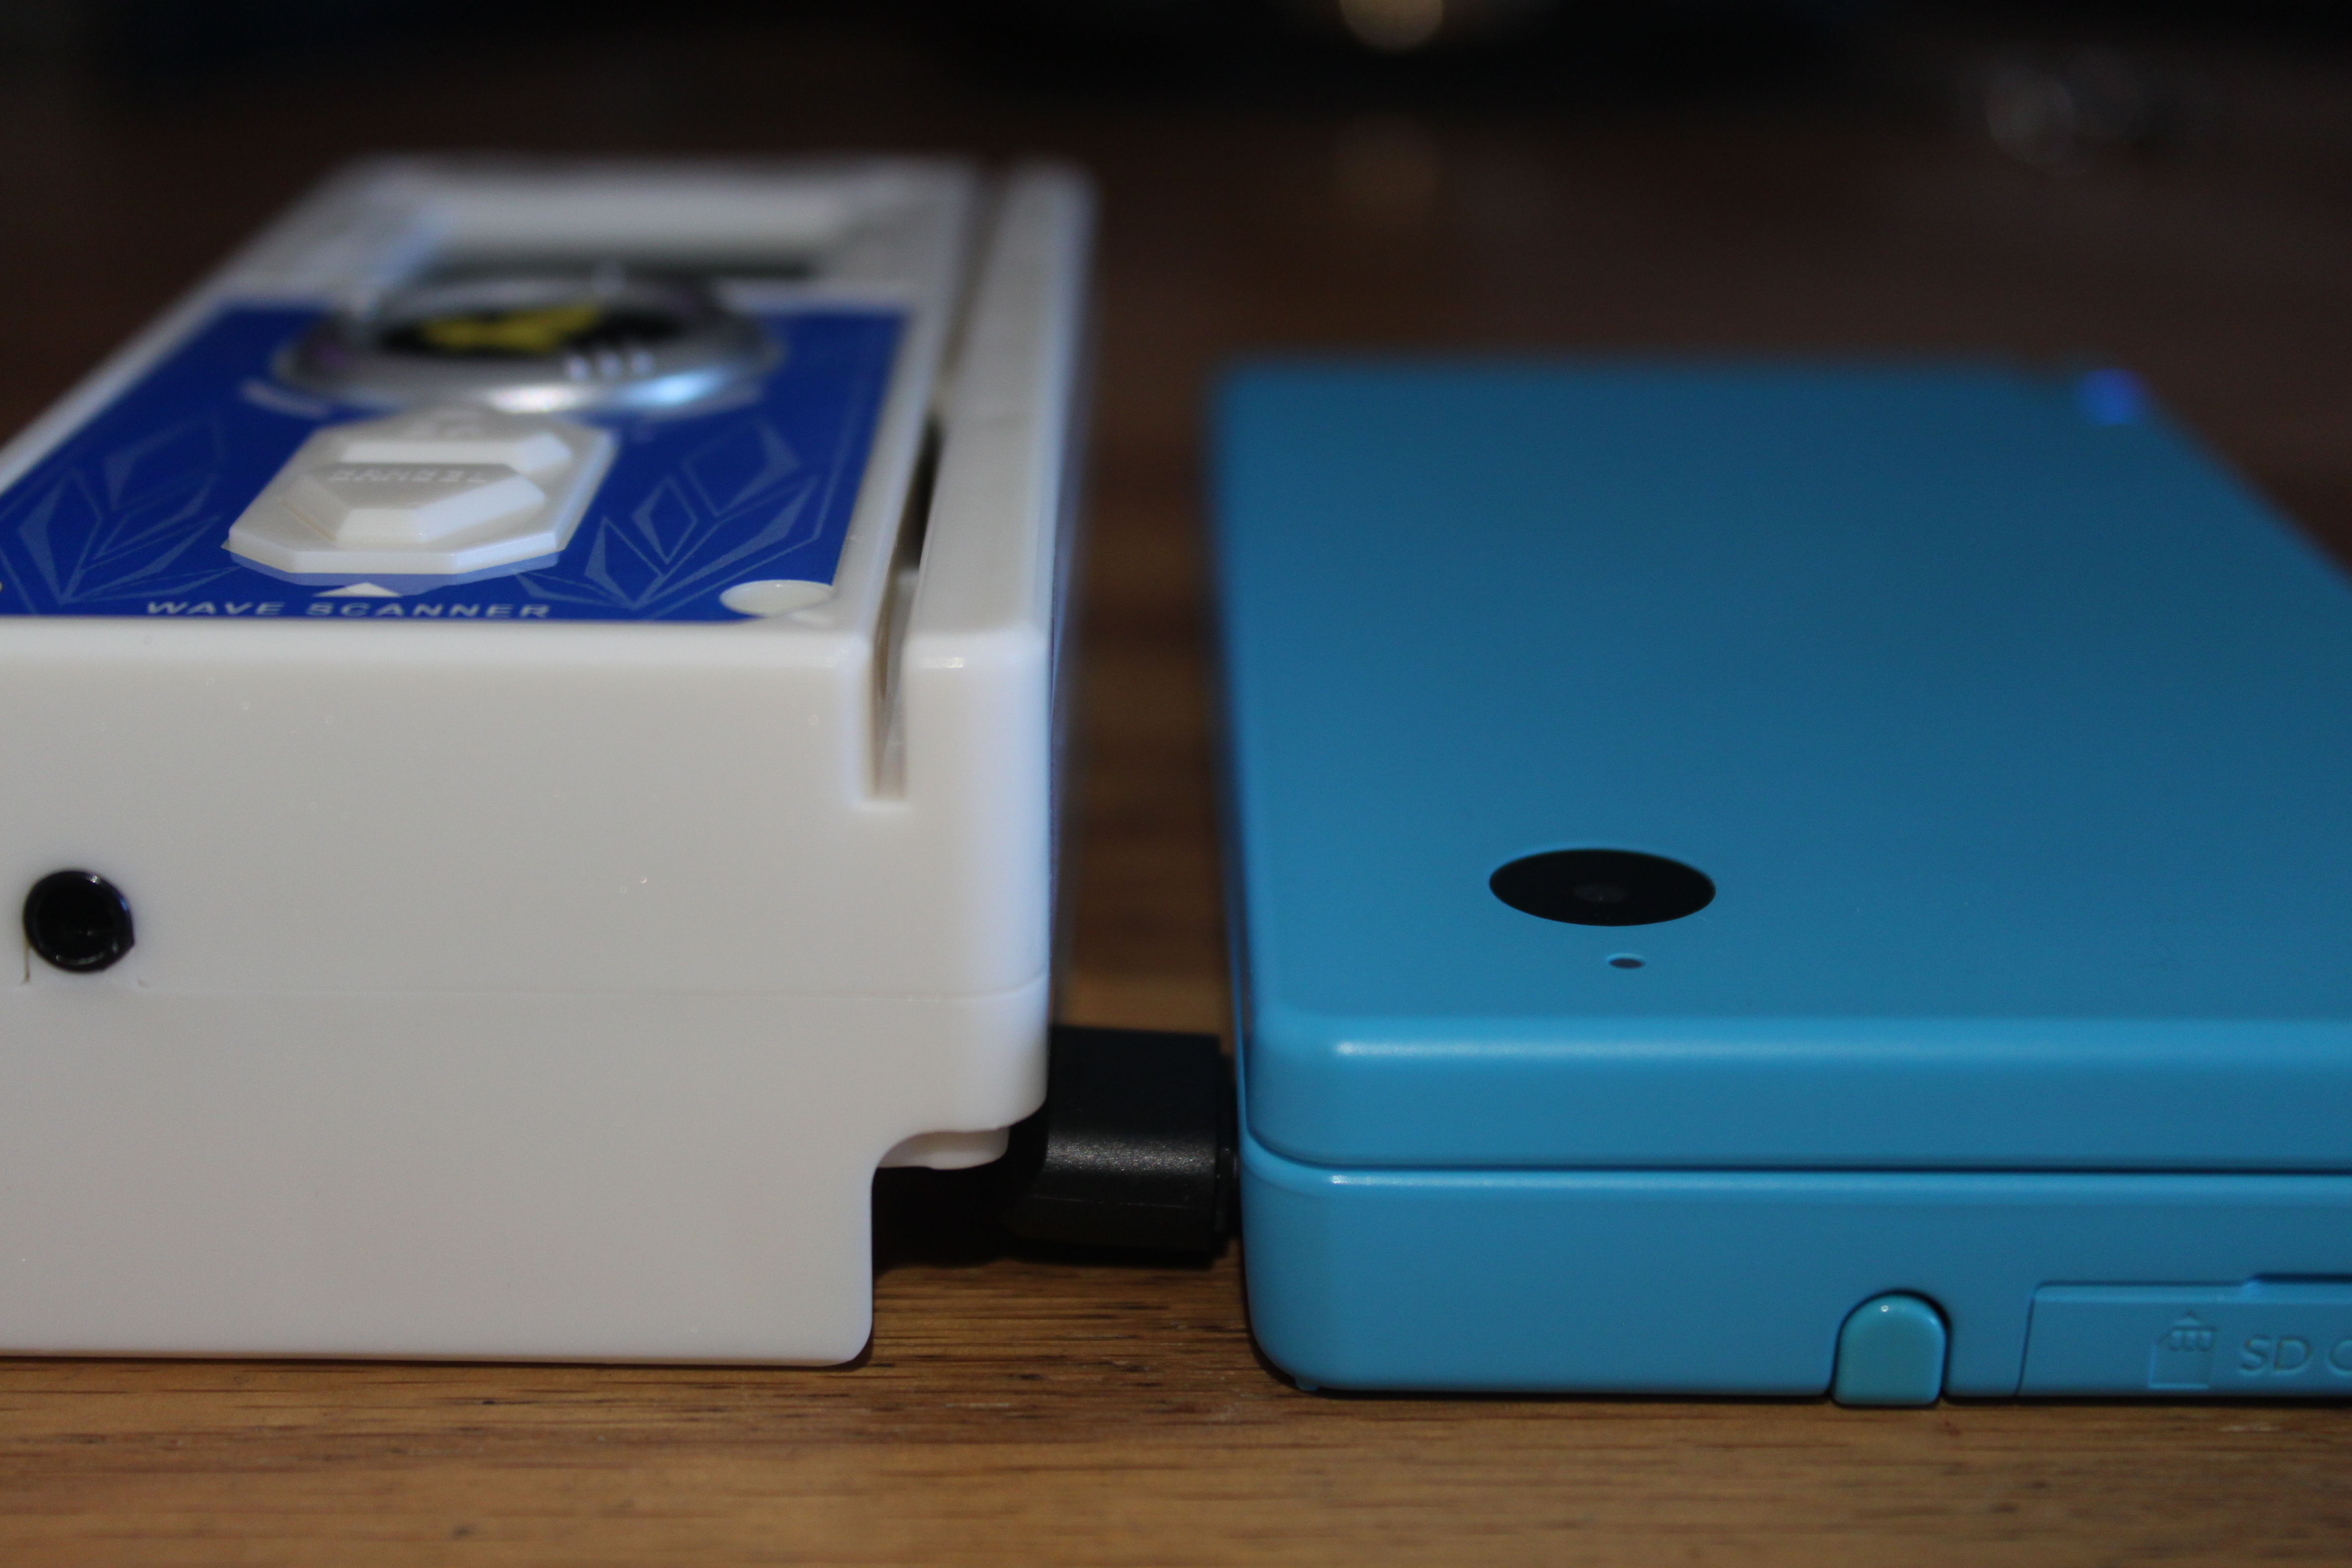
Microphone Jack
Now this is where things get serious. You know that port to the left of the headphone jack on the DS that just happens to never be used? Well, turns out, that's an external microphone port. The Wave Scanner connects and sends data to the DS through this port. Because it uses this and not the GBA slot, it's compatible with more than just the DS and DS Lite. In fact, here's a picture of it connecting to my DSi:

|
|
With the headphone jack considered, this device simply transmits audio to the NDS. The game is able to interpret those audio signals as data, decode it, and act accordingly. What does the audio data look like? Well, despite not having hardware to capture signals directly off of that microphone cable, capturing it was easier than it looked...
Level Data
First, let's break down how the level data can be read and see what data is being sent to the DS. Here's some waveforms with their sample WAVs available for download:
Level 41 (Pegasus): Download


Level 42 (Pegasus): Download


Level 43 (Pegasus): Download


Level 1 (Dragon): Download


Deciphering this is trivial when you know to only look for a single bit (or
2) to change. In binary, 41 is 00101001, 42 is
00101010, and 43 is 00101011. Armed and
dangerous with this information, I assumed some things about what is a 0
and a 1 in the waveform and boom, waveform decoded. Do you see it? Let's
zoom in toward the later half of the waveforms. The bits are as clear as
day:


I have no idea why the 8th bit for Dragon is set to 1, but we only need 7 bits of information to represent all 99 levels the wave scanner supports (that 8th bit is for values above 127). Here is a full decoding of those 4 waveforms back into binary, with a reference we were looking for to the right:
                byte 1   byte 2   byte 3   byte 4        reference
scan41_pegasus: 01000010 01000001 00101001 00101010      00101001  (41)
scan42_pegasus: 01000010 01000001 00101010 00101001      00101010  (42)
scan43_pegasus: 01000010 01000001 00101011 00101000      00101011  (43)
scan01_dragon : 01000010 01000001 10000001 10000010      00000001  (01)
Exactly 32 bits (4 bytes) of information is encoded and sent to the game. The first 7 bits (assuming right = LSB) of byte 3 obviously contains the level information. Experience is not sent to the game. This was tested by doing a mini-game as level 41 and resending. The waveform looked the exact same as the sample level 41 shown above.
Card Data
Card data is less trivial because the data I was looking for wasn't very obvious at first. First, sample data. The Pegasus Wave Scanner comes with 2 battle cards ready to use: ガトリング1 (Gatling 1), and ワイドウェーブ1 (Wide Wave 1). Here are scans of those (you may click them to see a 600ppi raw scan):

ガトリング1(Gatling 1)
|

ワイドウェーブ1(Wide Wave 1)
|
Unlike e-Reader, where data is encoded via Dot code, the data encoded here is in a much simpler format: Code 128. The dead giveaway to a trained eye is the left and right ends of the barcode (start/stop code regions). The only hardware you need to extract data from this is your smartphone and an app to scan and decode the data.
Here's a dump of these two cards, as well as a few others based on images found online. I made sure to include a convenient SVG of the barcode just in case you wanted to print it out and try scanning it (it works).
| ID | JP Name | US Name | Code 128 DEC | Barcode SVG |
|---|---|---|---|---|
| S-007 | ガトリング1 | Gatling 1 | 040000060107 |  |
| S-025 | ロングソード | Long Sword | 040000060363 |  |
| S-035 | ジェットアタック2 | Jet Attack 2 | 040000060530 |  |
| S-044 | モエリング2 | Fire Ring 2 | 040000060700 |  |
| S-046 | カウントボム1 | Count Bomb 1 | 040000060712 |  |
| S-055 | ワイドウェーブ1 | Wide Wave 1 | 040000060838 |  |
| S-078 | ホタルゲリ3 | Flicker Kick 3 | 040000061212 |  |
| S-080 | ジャンボハンマー2 | Jumbo Hammer 2 | 040000061232 |  |
| S-088 | バルカンシード1 | Vulcan Seed 1 | 040000061350 |  |
| S-094 | ジャンクキューブ1 | Junk Cube 1 | 040000061452 |  |
| S-102 | トリップソング | Trip Song | 040000061562 |  |
| S-118 | グリーンバースト | Green Burst | 040000061832 |  |
| S-128 | リカバリー30 | Recover 30 | 040000062002 |  |
| S-129 | リカバリー50 | Recover 50 | 040000062010 |  |
| S-135 | バリア | Barrier | 040000062111 |  |
| S-142 | ウラギリノススメ | Double Cross | 040000062212 |  |
| S-145 | アイスステージ | Ice Stage | 040000062242 |  |
| S-147 | ゼツエンステージ | Guard Null Stage | 040000062262 |  |
| M-209 | ペガサスマジックEX | Pegasus Magic EX | 040000063243 |  |
| M-212 | レオキングダムEX | Leo Kingdom EX | 040000063316 |  |
| M-215 | ドラゴンスカイEX | Dragon Sky EX | 040000063343 |  |
| G-243 | ゴルゴンアイ | Gorgon Eye | 040000063801 |  |
| G-247 | アンドロメダ | Andromeda | 040000063843 |  |
Now, the reason I discuss these and their decoded values is because it will come in handy for decoding the information sent to the NDS. Let's take a look at 2 more waveforms. These are scans of the 2 cards that came with the wave scanner from above:
ガトリング1(Gatling 1): Download


ワイドウェーブ1(Wide Wave 1): Download


This is encoded in the same way as the level data. But let's look at the binary:
             byte 1   byte 2   byte 3   byte 4
GATLING 1  : 01000000 01100000 01000111 01100111
WIDE WAVE 1: 01000000 01100010 00100110 00000100
So the ideal approach would be that it sends the ID of the card over. That
left me to search for 7 (00000111) and 55
(00110111). Yeah, that didn't go so well. So what's going on
here?
Turns out, the data is separated into groups of 6 bits based on the decoded Code 128 value. So let's pull those values from the table above and check again. This time, I adjusted the spaces to show where the data is at. The "XX" sections are irrelevant.
             XX     00     01     02     XX          CODE 128 VALUE
GATLING 1  : 010000 000110 000001 000111 01100111    040000060107
WIDE WAVE 1: 010000 000110 001000 100110 00000100    040000060838
If we decode groups 00, 01, and 02
to numbers (decimal, not hexadecimal), we get:
             VALUES      CODE 128 VALUE
GATLING 1  : 06 01 07    040000060107
WIDE WAVE 1: 06 08 38    040000060838
So there you have it. There's the decoding of battle cards and how they are sent over to the NDS. There isn't a noticable pattern in IDs that I've seen (the second, third, and fourth digits don't just increment by 1 every time) so generating a list of the other missing cards may have to be by either extracting the card data from the NDS rom, or finding if there's an equation in the code to translate it to the correct card ID.
Teardown
Of course I was going to take this thing apart. It wouldn't be fun if I didn't look at the board to see if any modifications could be made. Spoilers, there's one modification that's really... really nice.
Overview
There's 4 screws on the top, and 4 screws down below that must be removed before the case can come off. To access all of the bottom screws, the casing for the battery and GBA slot must be removed as well (which are in place via 2 more screws). Removing them reveals the following:

|
|
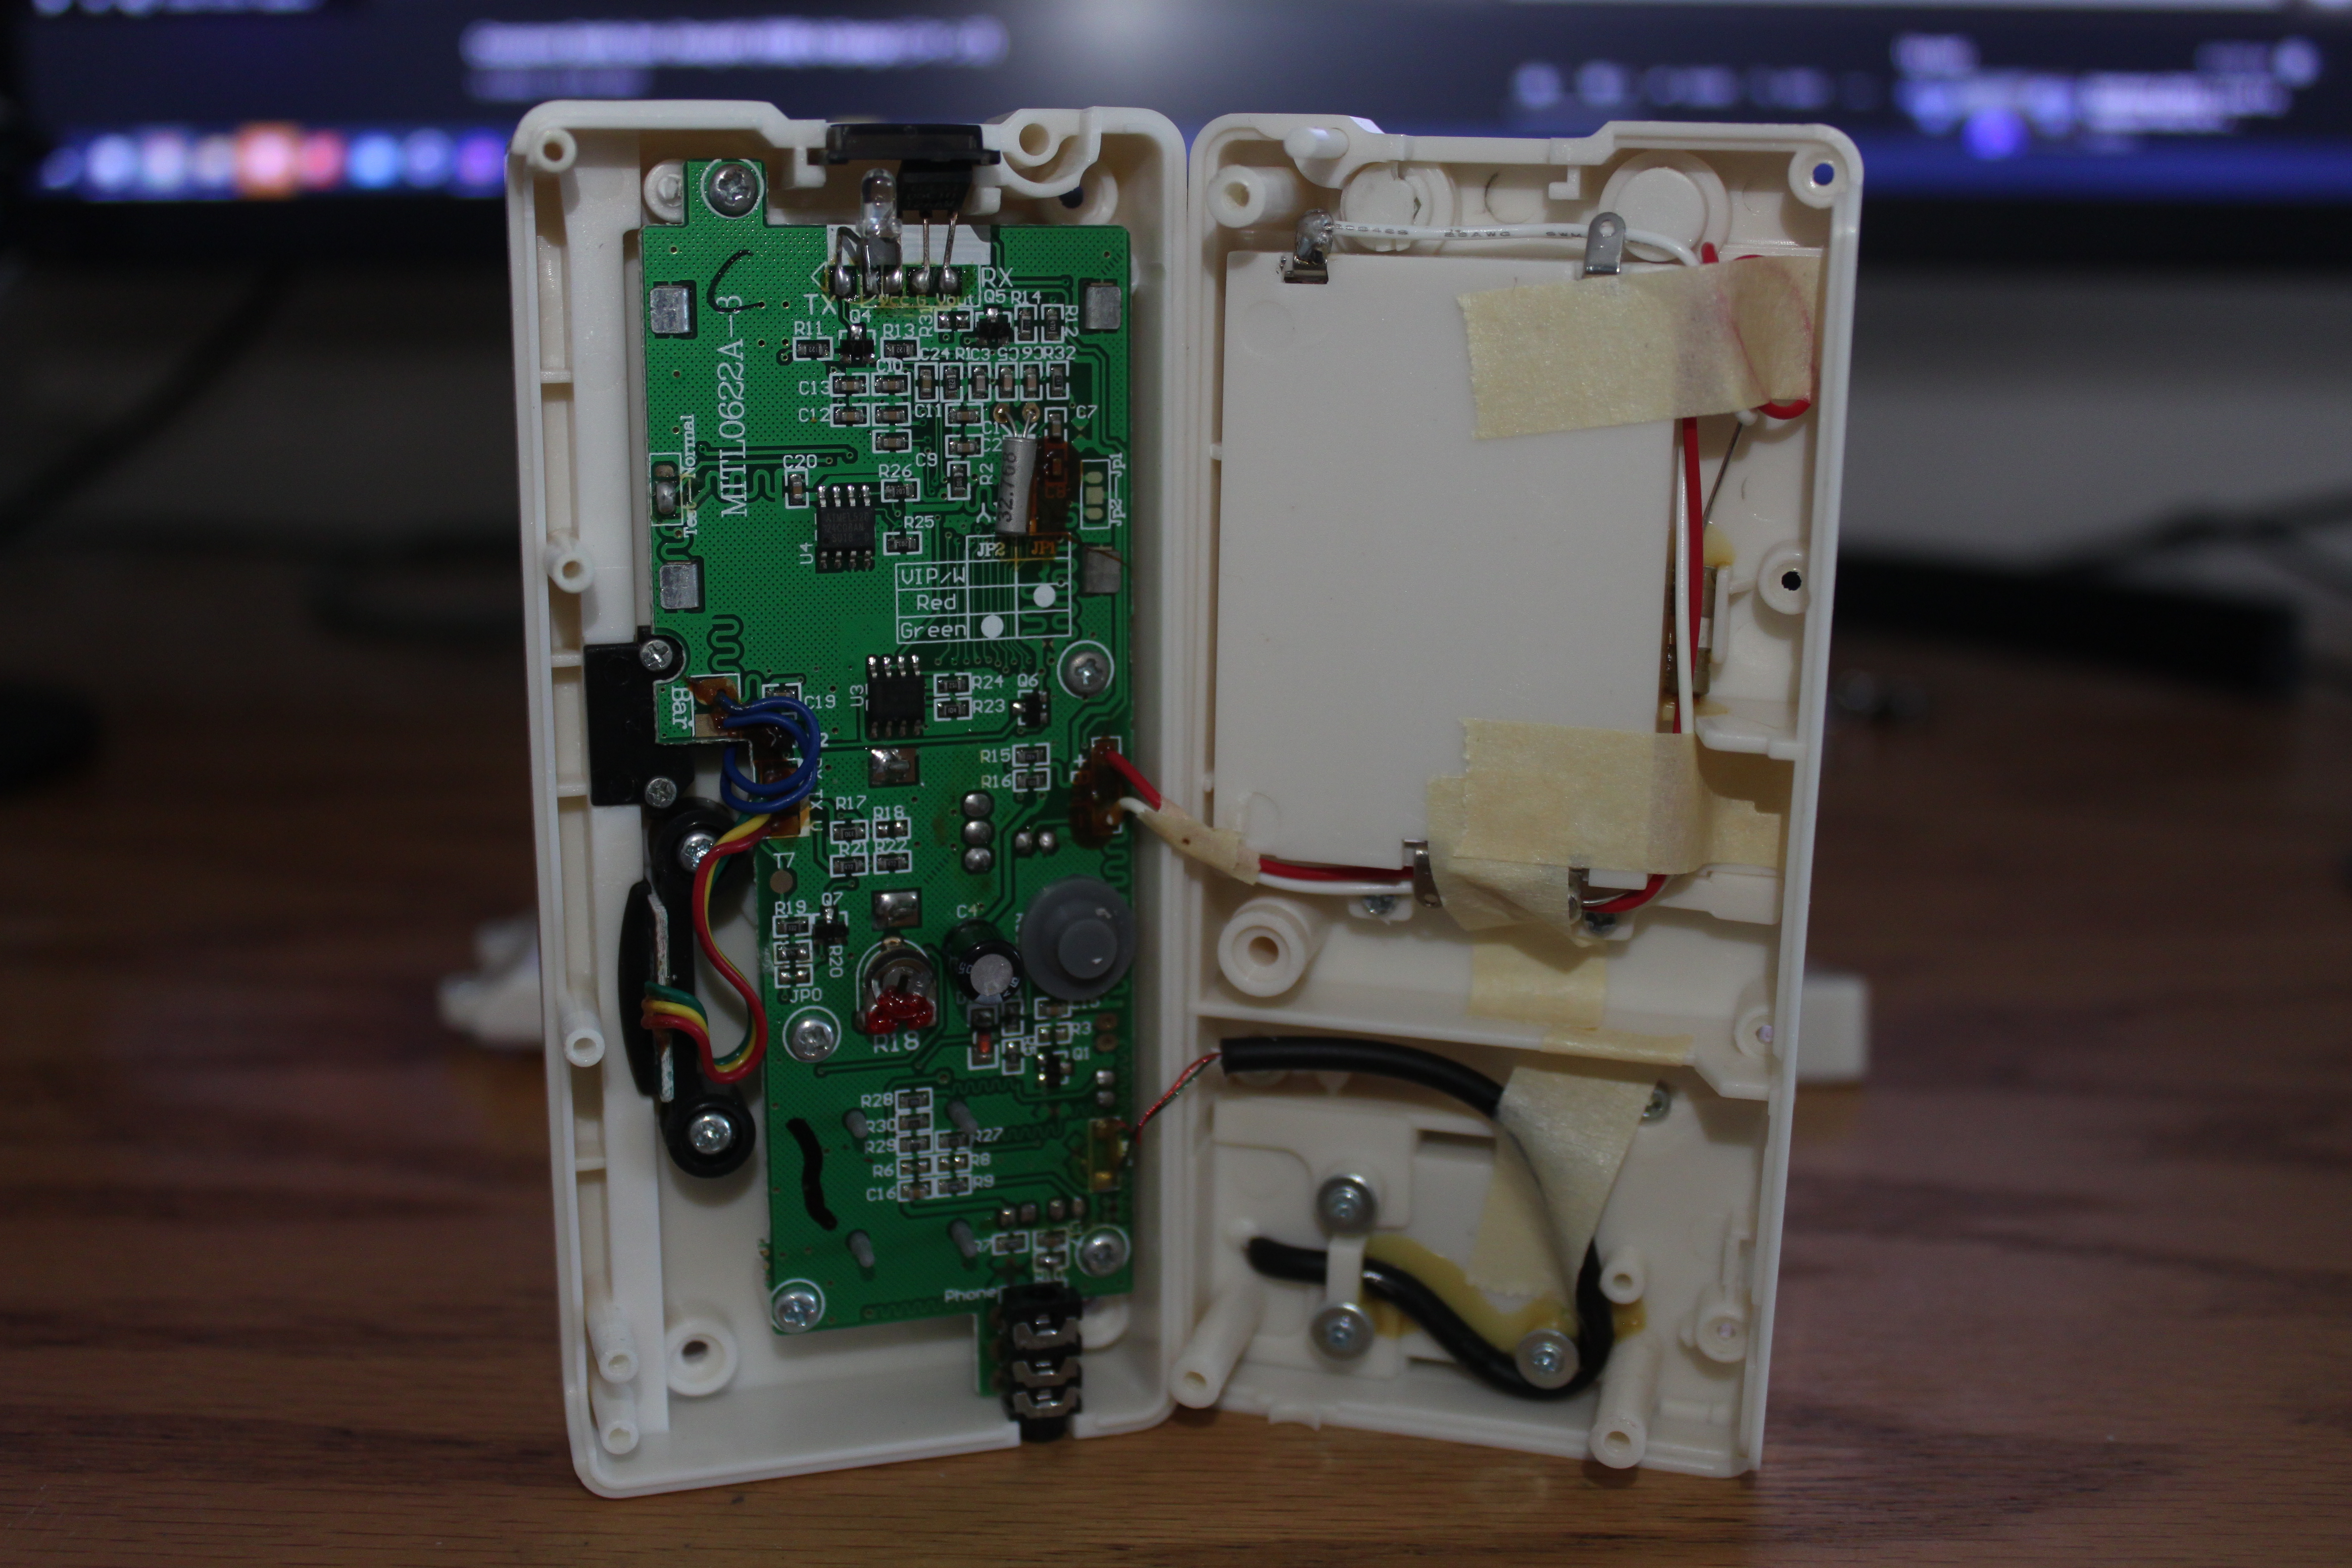
There's a bunch of screws holding the board to the top casing of the Wave Scanner, which also need to be removed. Doing so, we can see the other side of the board, as well as the front case from the inside:

|

|
Removing the front case off also lets us have a clear shot at seeing the scanner. This can be useful if you want to clean it (in the event the scanner isn't working properly, which happens to be a common thing).
|
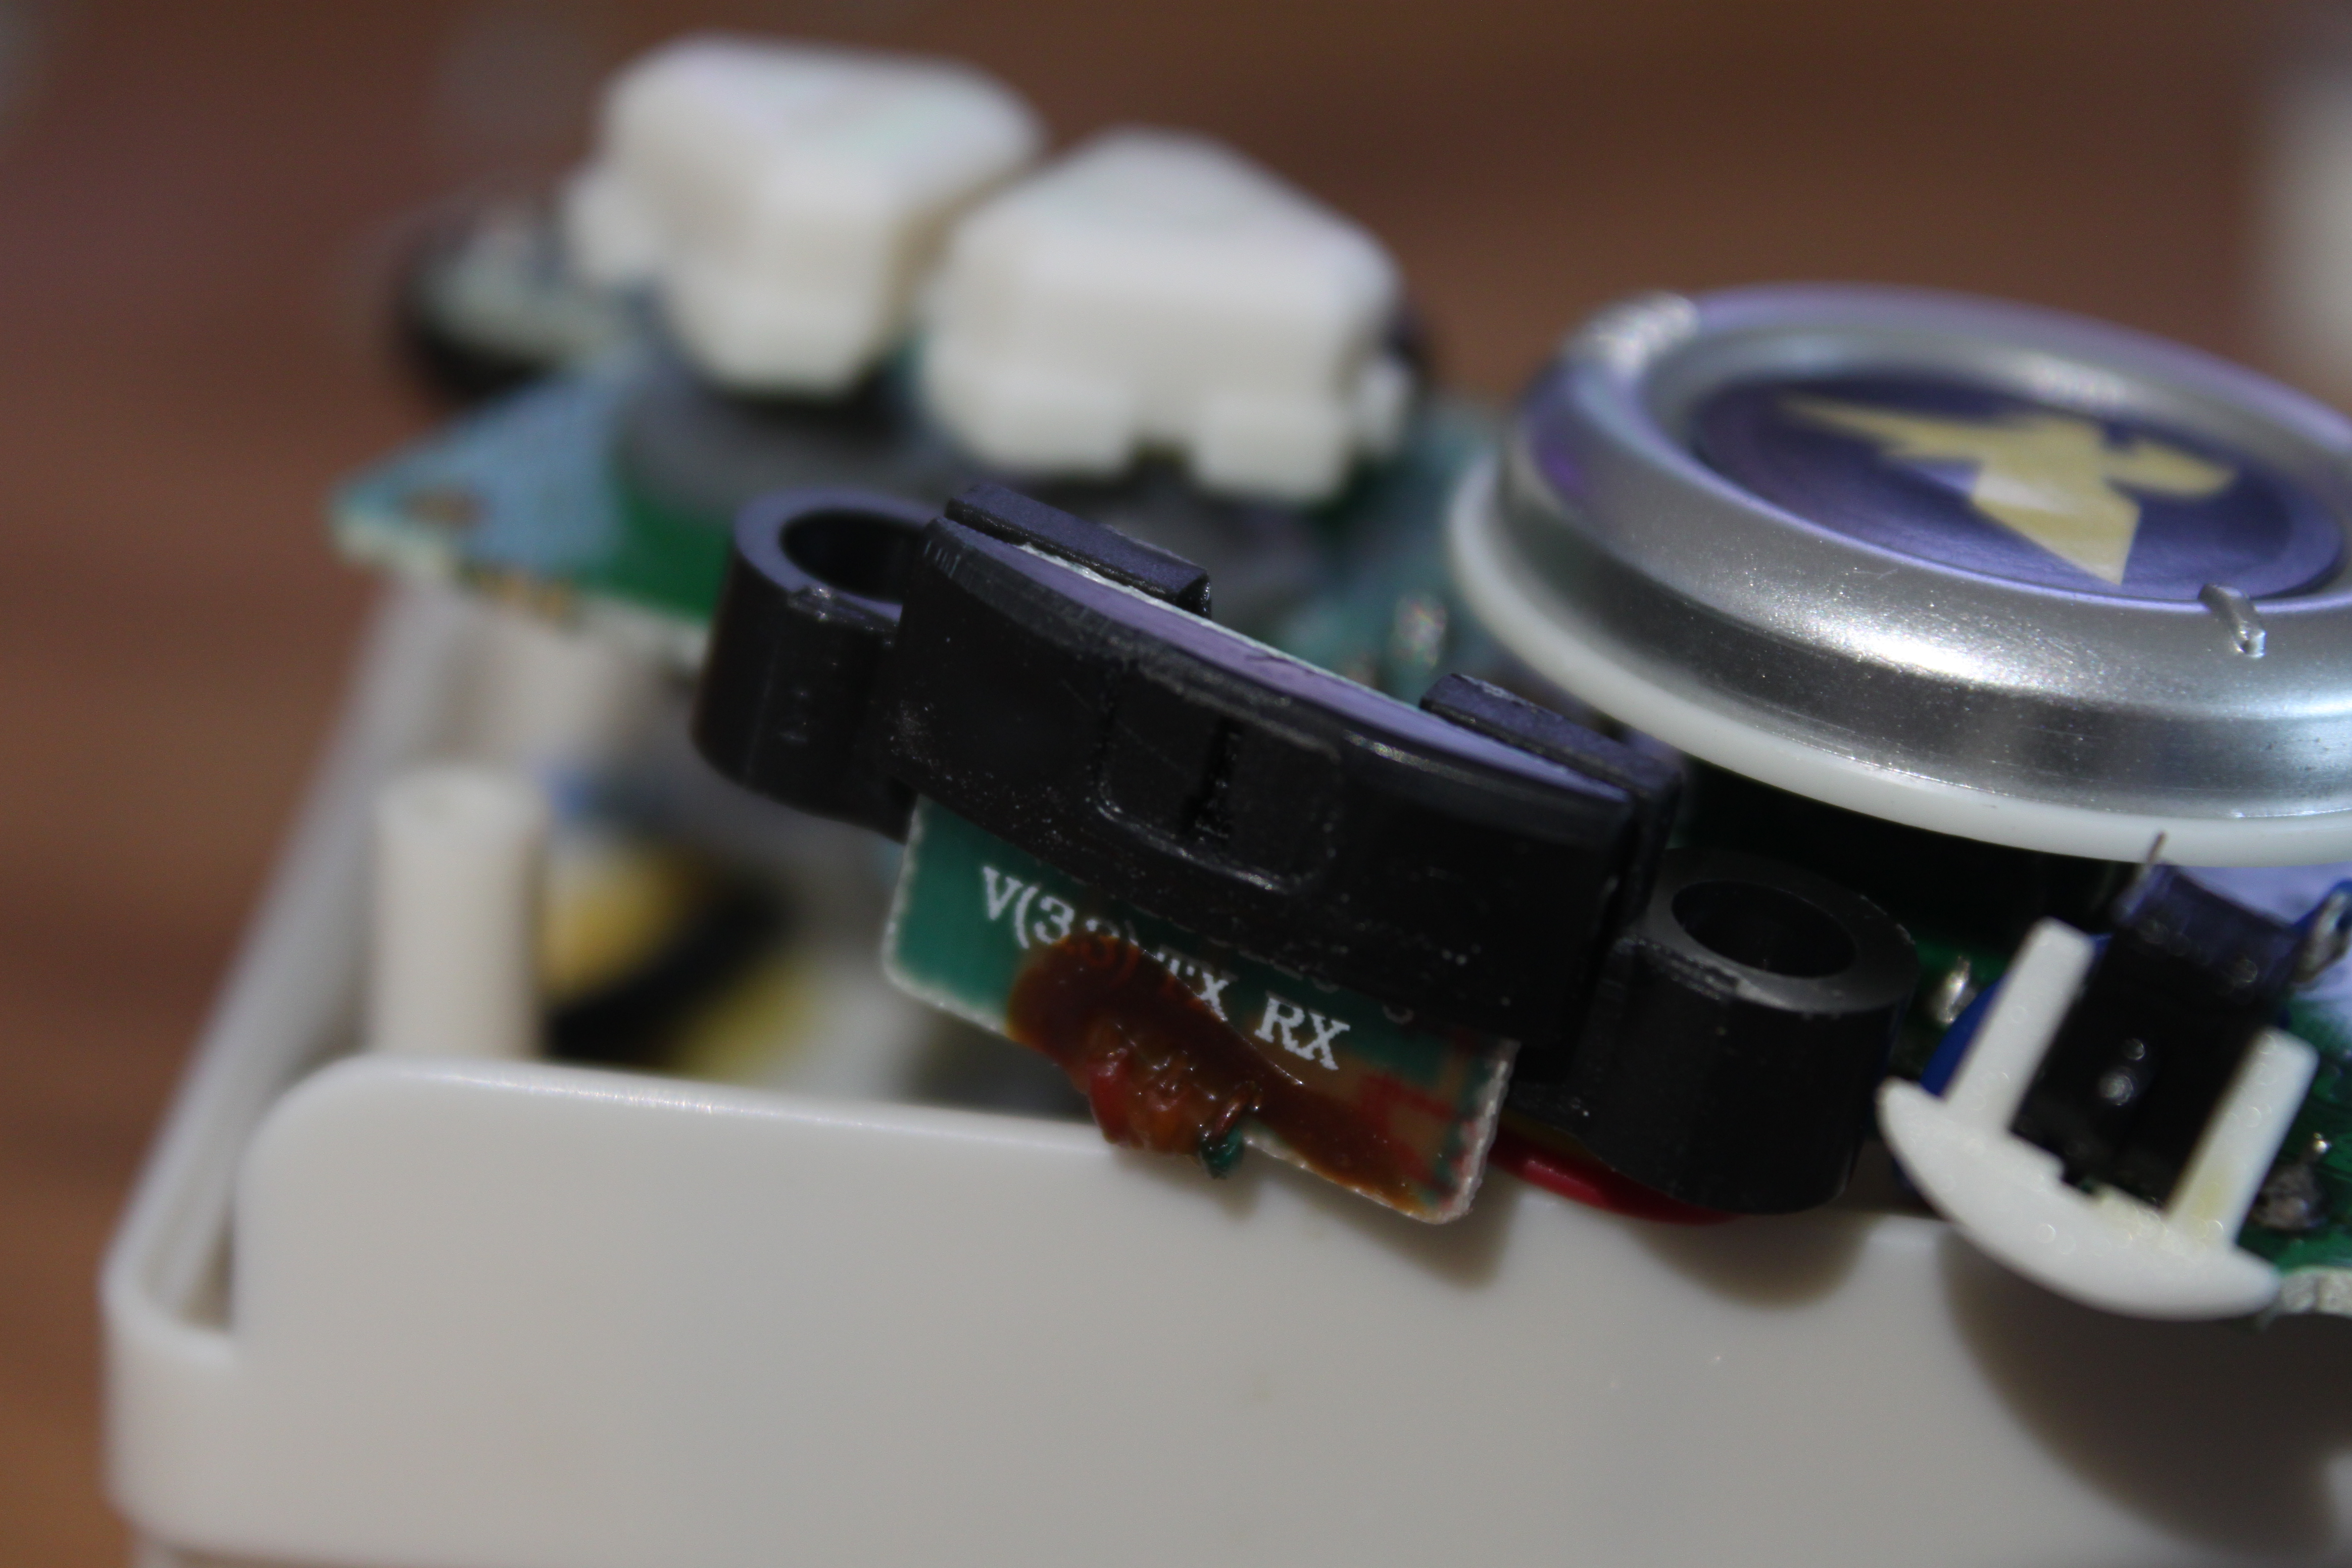
Changing the Version via Soldering
Here's a cute trick. Toward the top of the board, there is a jumper
labelled with Jp1/Jp2. If you short circuit
an area between one of those and the centre, you can literally change
the version of your Wave Scanner. It's treated as binary. If both are
open, the version is Pegasus. If Jp1 is shorted, then
the version is Leo. If Jp2 is shorted, then the version
is Dragon.

|
This makes the Pegasus Wave Scanner the best choice if you wanted the easiest time modifying the board to whatever version you want. It also helps that it's the cheapest one on eBay and Amazon right now. Upon figuring this out, I was really glad I didn't waste $113 on a Dragon Wave Scanner on Amazon. Saved quite a pretty penny.
By the way, you must clear your data on the Wave Scanner before the version change takes effect. I had Level 43 Pegasus data on mine and had to clear it for Dragon to appear after modification. So the version is also stored in memory upon the first boot.
|
ペガサス (Pegasus)
|

レオ (Leo)
|
ドラゴン (Dragon)
|
Also, that's how I got the Level 1 - Dragon audio sample from above, in case you were curious.
Memory Changes in-game
Only 2 bytes are changed via the Wave Scanner. These bytes are located at
02146CD5 and 02146CD6. The stat boosts are
located when you select ON in the War-Rock menu. Because only these
two bytes matter, this makes it trivial to simulate the Wave Scanner's
effects via Action Replay Codes. Before we jump to that, let's discuss what
happens to those bytes.
02146CD5, Wave Scanner Level
Simple. It just stores your current Wave Scanner Level. Since 99 is the
maximum level, setting this to 63 (99 in hexadecimal) will
grant the maximum benefits the moment you select ON for your boosts.
02146CD6, Enable Extra Menu & Star Force Admin Selection
This is a two-parter. The first nibble (4 bits) determines whether the
third menu in the War-Rock screen is accessible or not. It is switched to
1 when Wave Scanner data is present. Any value that isn't
0 will make the menu appear.
The second nibble (5th-8th bits) determine the Satellite Admin your wave scanner is. This is simply:
| # | Admin |
|---|---|
| 0 | Ice Pegasus |
| 1 | Fire Leo |
| 2 | Green Dragon |
Putting both of those together, if Ice Pegasus Wave Scanner data is in,
this byte will be 01. If Fire Leo Wave Scanner data is in,
it will be 11. Green Dragon would make it 21.
Action Replay Codes (Japanese Version)
Now for what you're here for. Here's some Action Replay codes which will
simulate the Wave Scanner effects. Be sure to have these active while your
boosts are OFF. You may also put them in while in the title screen.
Having your boosts ON is okay as well, but only if your current
level matches the one that the AR code provides. When you turn off the
boosts, the game subtracts the boosts rather than setting. So if you were
Level 41, then used an AR code to jump to 99, then deactivated the boosts,
it'll glitch out.
All of these codes work with all three of the versions of the Japanese
release.
Level 99 Wave Scanner Data (Ice Pegasus) [JP]
22146CD5 00000063
22146CD6 00000001
Level 99 Wave Scanner Data (Fire Leo) [JP]
22146CD5 00000063
22146CD6 00000011
Level 99 Wave Scanner Data (Green Dragon) [JP]
22146CD5 00000063
22146CD6 00000021
Action Replay Codes (USA & Europe Versions)
Oh yeah, nearby those addresses are your current buster stats. This made finding the address in the USA and Europe versions of the game trivial. I made the modifications to memory in those games as well and, sure enough, it works flawlessly. It's even translated (mostly)!
Rather than just posting codes though, see below. I have a generator that will let you generate Japanese, USA, and Europe version codes. This is just so this post looks a bit cleaner.
Action Replay Code Generator
Now for a little fun. Here's a generator so you can generate your own codes to have the level of your choice. You can tweak game region, the satellite admin of your (virtual) Wave Scanner, as well as the level of the Wave Scanner. On top of that, a cute visual display will show to the right, showing the boosts you'll get if the code is put into the game.
|
|||||||||||||||||||||||||
Emulating the Wave Scanner?
Unfortunately, I have not been able to emulate the scanning of cards or stat transfers. The screenshots up above were captured by an emulator. But that's just me using the Wave Scanner on a physical DSi and then transferring the save over. I am aware of the options in emulators to use a WAV file as microphone input. Yes, I did try those. No, it didn't work. Though, if there are any ideas on how to attempt it, I'd be willing to listen. Until then though, I think this is more than enough information for curious people on the Wave Scanner, from a technical perspective.